はじめに
19卒内定者として現在、AbemaTVで内定者アルバイトをしている中澤(@funzin)です。
今回AbemaTVのiOSアプリ内で使用されているアニメーションの置き換えを行うにあたり、Sica(Simple Interface Core Animation)というライブラリを作成しました。
このブログでは、なぜSicaを作成するに至ったかなどの作成秘話を綴っていきます。
私事ですが、2018年度第3期の個人の目標としては以下の2点がありました。
- AbemaTVのiOSアプリのアニメーションを改善する
- もしそれが汎用化できそうであればOSSとして公開する
上記の目標を達成するために、まずは現状のアニメーションについて、調査しました。
AbemaTV iOSアプリのアニメーションについて
今までAbemaTVのiOSアプリではCheetahというアニメーションライブラリを使用していました。
Cheetahのメリット・デメリットとしては以下の点があげられます。
- Cheetahのメリット
- アニメーションが直感的でコーディングしやすい
- Cheeathのデメリット
CADisplayLinkを内部で使っていることもあり、asyncなどMainスレッドに他の処理が走る場合、アニメーションが崩れることがある
実際にAbemaTV内で使用するアニメーションをCheetahで実装し、通常の場合と他の処理が走った場合で比較してみると
通常のアニメーション

他処理が入った場合のアニメーション

せっかく用意したアニメーションがこのように崩れてしまうのはとても残念なことです。
この問題を解決するために、Mainスレッドに処理が走っていても既存のアニメーションを崩さずにCheetahの置き換えが可能かどうか調査しました。
今回は以下の3つのアニメーションで挙動を確認しました。
CABasicAnimationCAKeyframeAnimationUIView.animate
例として、UIView.animateで先ほどのアニメーションを実装する場合、以下のようなコードになります。
UIView.animate(withDuration: 0.5, delay: 0, options: [], animations: {
    view.center.y = 12
}, completion: { _ in
    UIView.animate(withDuration: 1.5, delay: 0, options: [], animations: {
        view.center.y = 10
    }, completion: { _ in
        UIView.animate(withDuration: 0.2, delay: 0, options: [], animations: {
            view.center.y = 4
        }, completion: { _ in
            UIView.animate(withDuration: 0.8, delay: 0, options: [], animations: {
                view.center.y = 10
            }, completion: { _ in
                UIView.animate(withDuration: 0.2, delay: 0.7, options: [], animations: {
                    view.center.y = -26
                }, completion: { _ in
                   // finished
                })
            })
        })
    })
})
completionによってネストが深くなるため、あまりきれいなコードとはいえないですね…
また、completionが呼ばれたときに、新たなアニメーションを生成しているため、Mainスレッドで別な処理が走るとアニメーションがカクついたり、止まったりします。
実際に3つのアニメーションを使用した動作GIFはこちらです。
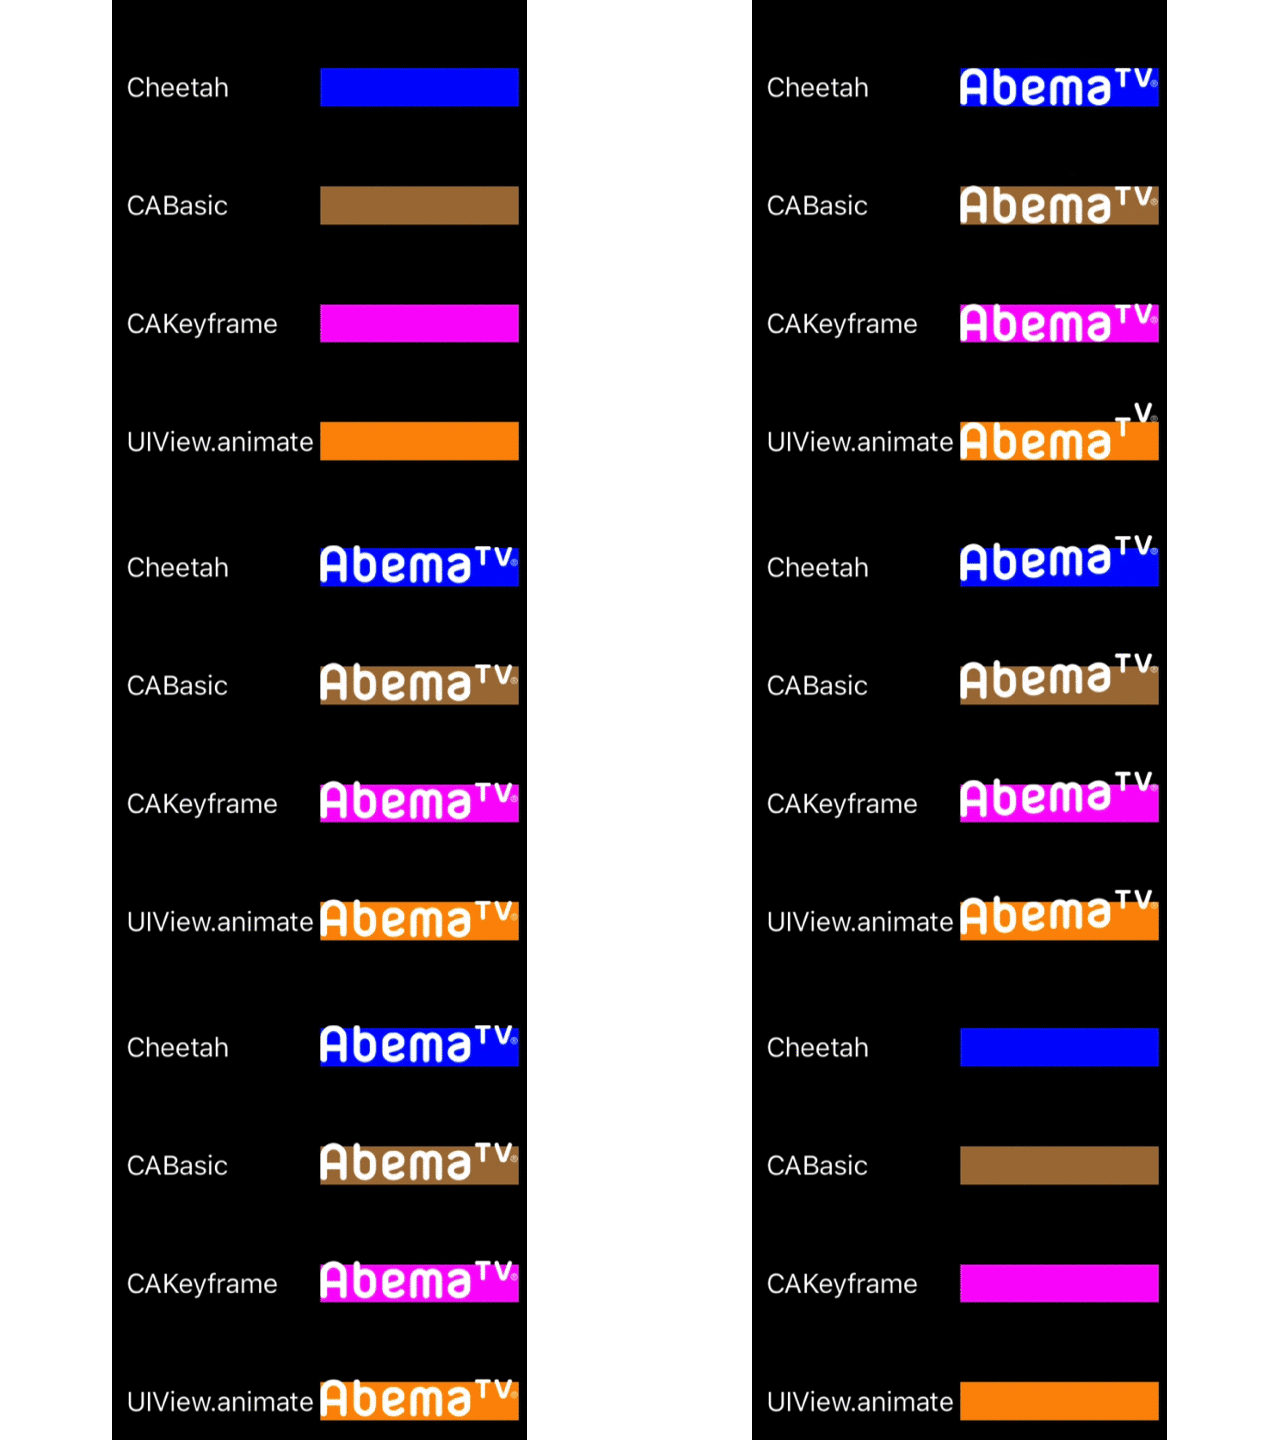
UIView.animateのみアニメーションのタイミング指定ができないので少しずれていますが、他はCheetahと同様の動きが確認できます。
また、他の処理が走っている場合のアニメーションの動作GIFはこちらです。
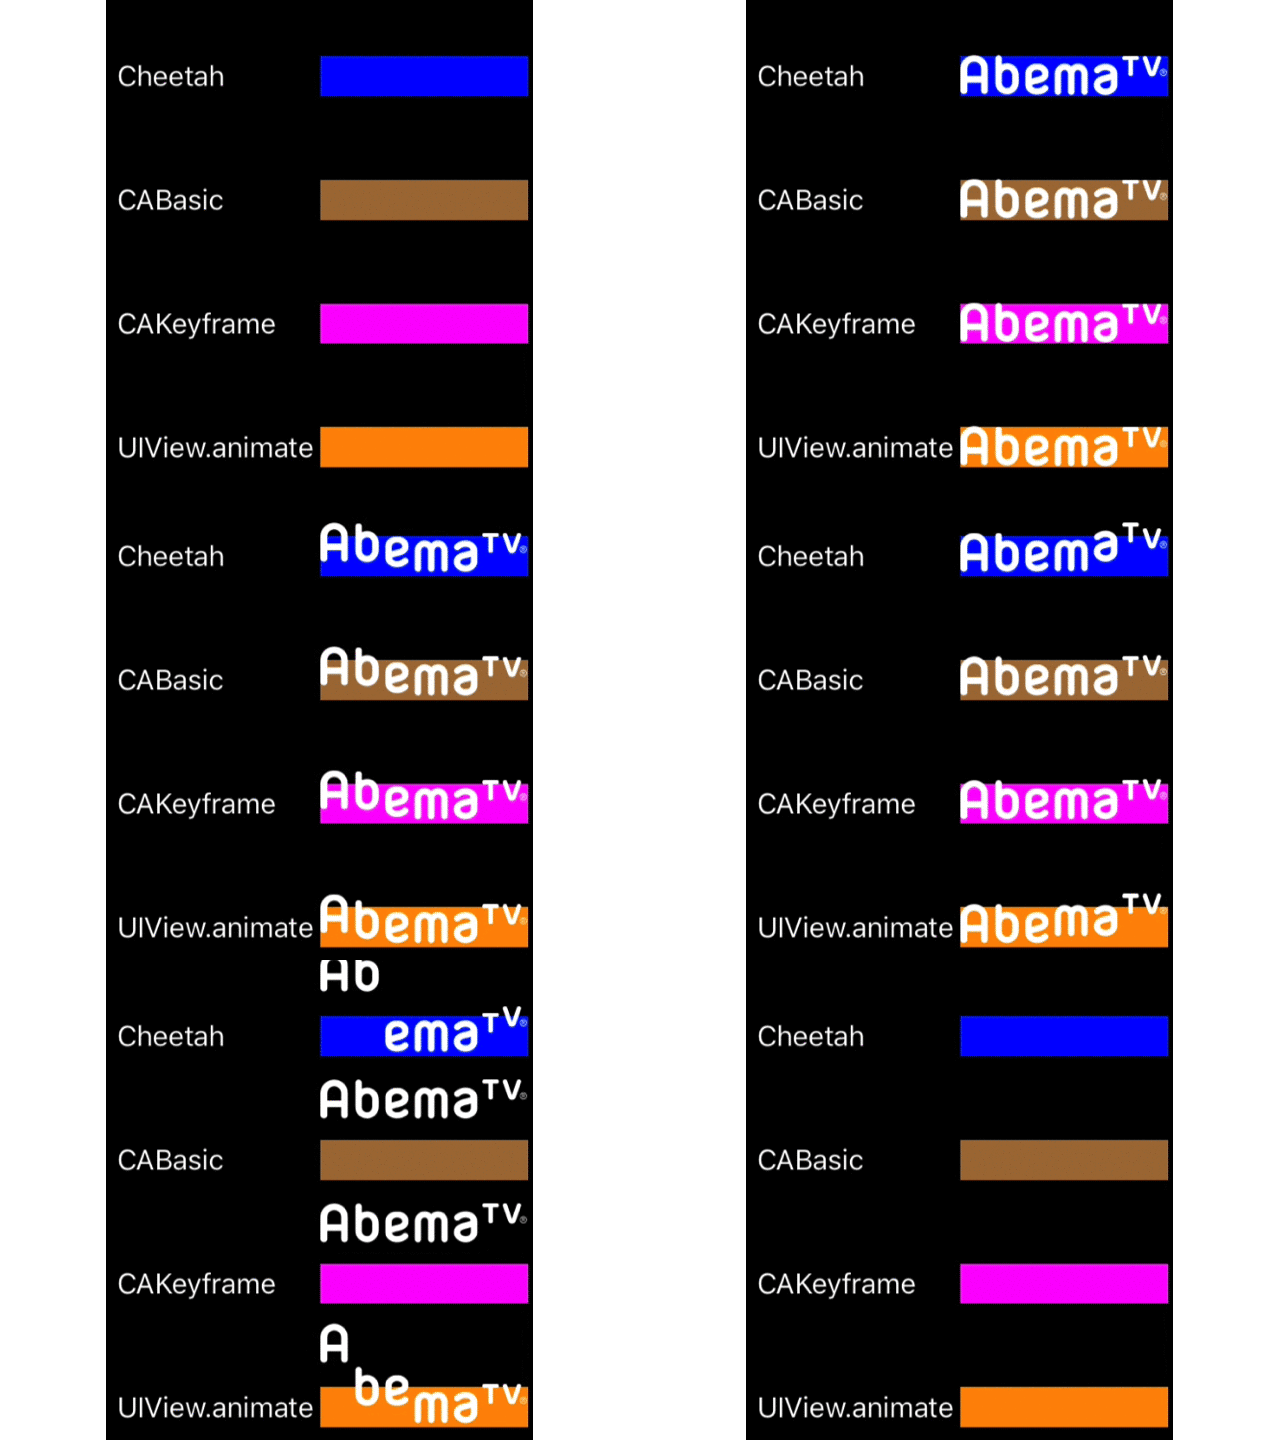
CABasicAnimationとCAKeyframeAnimationでは他の処理が走っても、問題なくアニメーションが実行されることがわかりました。
パフォーマンス調査
Cheetahを使わずに、アニメーションを再現することは可能だということがわかったので、次にパフォーマンス調査を行いました。
パフォーマンスを測定するためInstrumentsを使って、以下の2点に注目しました。
- CPU使用率
- メモリ使用量

Instrumentsで確認した内容をまとめると以下のようになりました。
| Animation | CPU使用率 | メモリ使用量 |
| Cheetah | アニメーション中、10%が連続的に続く | 0.03~0.05Mib |
| CABasicAnimation | アニメーション開始時・終了時に10%~30%使用 | 0.02~0.03Mib |
| CAKeyframeAnimation | アニメーション開始時・終了時に30%使用 | 0.02~0.05MiB |
パフォーマンスとしては、CABasicAnimationとCAKeyframeAnimationが良かったため、今回はCABasicAnimationを元にアニメーションを実装しようと考えました。しかし、CABasicAnimationを扱う場合、いくつか使いにくい点があります。
1. Type-safeではない
例として、position.yをアニメーションしたい場合、対応する型はCGFloatですが、fromValueとtoValueがAny?型のため、予期せぬ型の変数を代入してもビルドは通ってしまいます。
let animation = CABasicAnimation(keyPath: "position.y")
let strFromValue: String = "test"
let strToValue: String = "test1"
// ? Not correct value type
animation.fromValue = strFromValue
animation.toValue = strToValue
let cgFloatFromValue: CGFloat = 0
let cgFloatToValue: CGFloat = 10
// ? Correct value type
animation.fromValue = cgFloatFromValue
animation.toValue = cgFloatToValue
また、keyPathもStringのため、入力ミスをする場合も考えられます。
// ? Not correct keyPath
let animation = CABasicAnimation(keyPath: "position,y")
2. コード量の増加
複数のアニメーションを組み合わせる場合、どうしてもコード量が増加してしまいます。
let opacityAnim = CABasicAnimation(keyPath: "opacity")
opacityAnim.duration = 2
opacityAnim.fromValue = 1
opacityAnim.toValue = 0

let positionYAnim = CABasicAnimation(keyPath: "position.y")
positionYAnim.duration = 2
positionYAnim.fromValue = 250
positionYAnim.toValue = 100

let rotationAnim = CABasicAnimation(keyPath: "transform.rotation.z")
rotationAnim.duration = 2
rotationAnim.fromValue = 0
rotationAnim.toValue = CGFloat.pi

let animationGroup = CAAnimationGroup()
animationGroup.animations = [opacityAnim, positionYAnim, rotationAnim]
animationGroup.duration = 2
animationGroup.fillMode = kCAFillModeForwards
animationGroup.isRemovedOnCompletion = false
view.layer.add(animationGroup, forKey: nil)
3. 連続アニメーションがしにくい
連続アニメーションをする場合、beginTimeとduraitonを組み合わせて、アニメーションの開始時間をずらしていくようなコードを書かないといけません。
例として、opacityの連続アニメーションを実行する場合、以下のようになります。
let animation1 = CABasicAnimation(keyPath: "opacity")
animation1.duration = 2
animation1.fromValue = 0
animation1.toValue = 1

let animation2 = CABasicAnimation(keyPath: "opacity")
animation2.duration = 2
animation2.fromValue = 1
animation2.toValue = 0

let animation3 = CABasicAnimation(keyPath: "opacity")
animation3.duration = 2
animation3.fromValue = 0
animation3.toValue = 0

let animations = [animation1, animation2, animation3]

// calcurate beginTime
for (i, anim) in animations.enumerated() where i > 0 {
  let prev = animations[i - 1]
  anim.beginTime += prev.beginTime + prev.duration
}

let animationGroup = CAAnimationGroup()
animationGroup.animations = animations
animationGroup.duration = animations.last.map { $0.beginTime + $0.duration } ?? 0

animationGroup.fillMode = kCAFillModeForwards
animationGroup.isRemovedOnCompletion = false
view.layer.add(animationGroup, forKey: nil)
これらの問題を解決し、かつOSSとして汎用化できそうだったので、今回Sicaを作成しました。
Sicaについて

Sicaの主な特徴としては、以下の5つがあげられます。
- Type-safeにアニメーション
- 並列・連続アニメーション
- イージング対応
- iOS, tvOS, macOS対応
- CocoaPods, Carthage, SwiftPM対応
Type-safeにアニメーション
position.xに対してアニメーションする場合、valueにはCGFloat型のみ指定可能です。他の型を指定するとエラーがでます。
import Sica
let animator = Animator(view: sampleView)
// ?
animator
.addBasicAnimation(keyPath: .positionX, from: 5, to: 15, duration: 2)
.run(type: .parallel)
// ?
animator
.addBasicAnimation(keyPath: .positionX, from: "test", to: "test1", duration: 2)
.run(type: .parallel)
addBasicAnimationの引数であるkeyPathはAnimationKeyPath<ValueType>型で定義されており、ValueTypeは任意のkeyPathに対して紐づけたいアニメーションパラメータの型を示しています。Sicaの内部では、keyPathごとに適切な型が保持されているため、keyPathとValueTypeの紐づけを実現しています。
// AnimationKeyPath values
public static let opacity = AnimationKeyPath<CGFloat>(keyPath: #keyPath(CALayer.opacity))
public static let position = AnimationKeyPath<CGPoint>(keyPath: #keyPath(CALayer.position))
public static let shadowColor = AnimationKeyPath<CGColor>(keyPath: #keyPath(CALayer.shadowColor))
public static let shadowOffset = AnimationKeyPath<CGSize>(keyPath: #keyPath(CALayer.shadowOffset))
・
・
・
そのため、addBasicAnimationの引数であるfromとtoもAnimationKeyPath<ValueType>のValueTypeに紐づけることができます。
並列・連続アニメーション
CAAnimationGroup使用することで並列アニメーションを実行できますが、連続アニメーションは以前説明した通り、beginTimeとdurationをうまくずらしながら調整する必要があります。
Sicaでは、runの引数に.sequence、.parallelを指定するだけで並列・連続アニメーションを実行できます。
並列アニメーション
let animator = Animator(view: sampleView)
animator
    .addBasicAnimation(keyPath: .positionX, from: 50, to: 150, duration: 5)
    .addBasicAnimation(keyPath: .transformRotationZ, from: 0, to: CGFloat.pi, duration: 3)
    .run(type: .parallel)
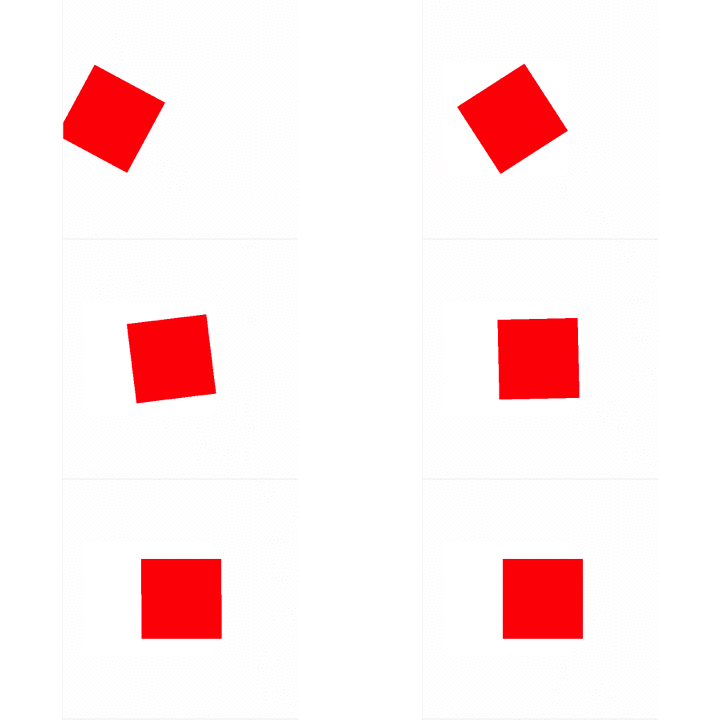
連続アニメーション
let animator = Animator(view: sampleView)
animator
    .addBasicAnimation(keyPath: .positionX, from: 50, to: 150, duration: 2)
    .addSpringAnimation(keyPath: .boundsSize, from: sampleView.frame.size, to: CGSize(width: 240, height: 240), damping: 12, mass: 1, stiffness: 240, initialVelocity: 0, duration: 1)
    .run(type: .sequence)

イージング対応
様々なアニメーションのタイミングに対応するようにイージング対応も行いました。
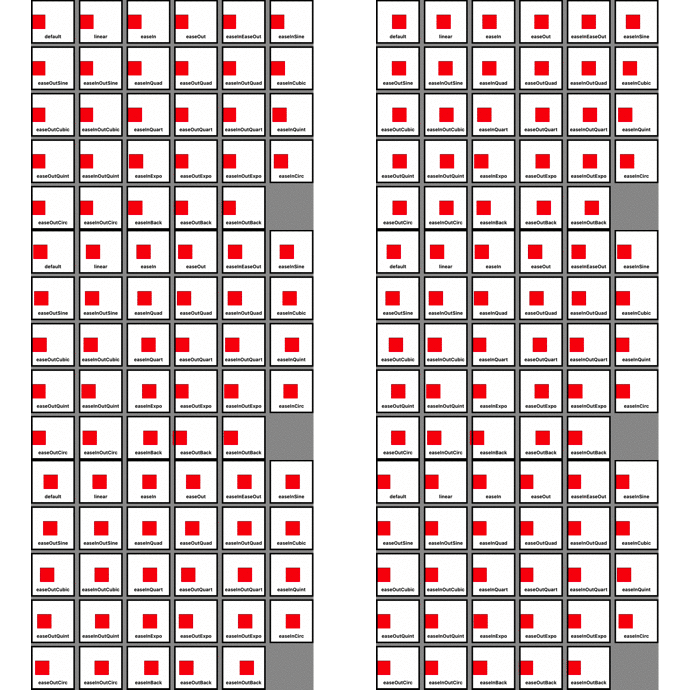
addBasicAnimationの引数であるtimingFunctionを使用することで、イージングを設定できます。
let animator = Animator(view: sampleView)
animator
    .addBasicAnimation(keyPath: .positionX, from: 50, to: 150, duration: 5, timingFunction: .easeOutExpo)
    .run(type: .parallel)
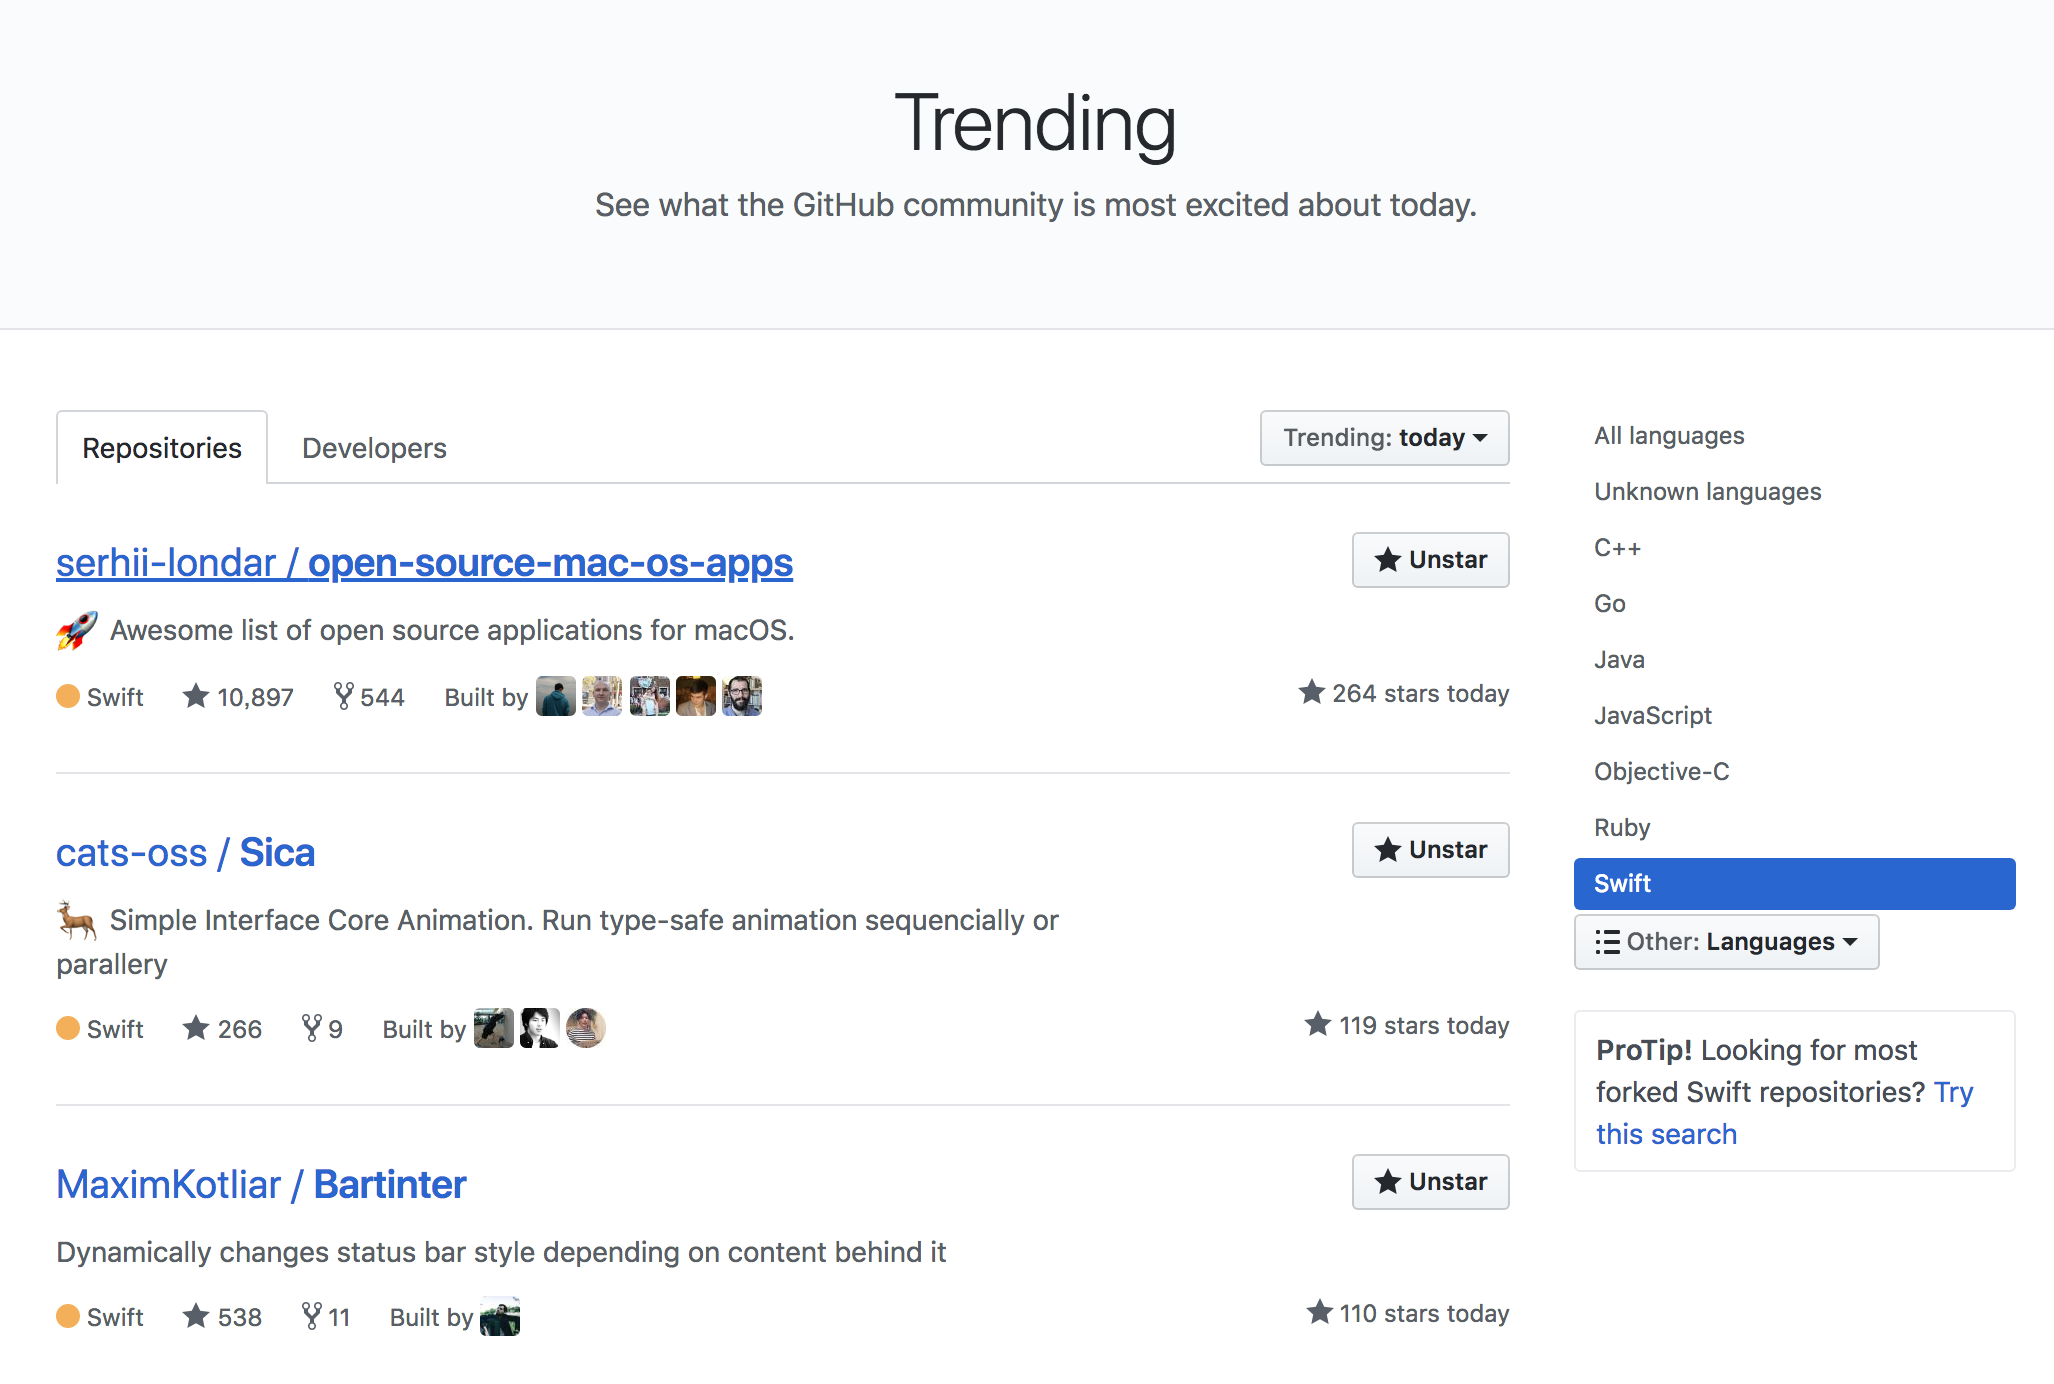
Trending
また、ありがたいことにGithubのTrendingで2位にランクインするなどかなり勢いにのっています?️
(2018/7/19時点でスター数が570)
さいごに
iOSアプリでは、様々な方法でアニメーションをすることができますが、タイミングやパフォーマンスまで考慮するといろんなところに気を使わないといけない点が、今回の実装において最も大変でした。みなさんもぜひSicaを使って、アプリにアニメーションを導入していきましょう。
